PAGES

SLIDER

Showing posts with label Thanksgiving. Show all posts

The Boy's Got Talent!

Monday, November 29, 2010

It's interesting the way you find out about your kids hidden talents. My 16 year old son had a school assignment to either bring some kind of Thanksgiving food to share with his English class or bring some Thanksgiving decorations. (I never had a teacher that let us do fun things like this!) He decided to make Thanksgiving decorations. He'd seen all fun things that can be made with fondant and gum paste... so he wanted to give it a try. What was his idea???? A life sized turkey with all the fixin's!

He and a classmate spent several evenings together working on this project. If they asked for help I'd offer some suggestions, but they pretty much made everything themselves. (With the exception of the pumpkin and acorn... which you might recognize from a couple of  past tutorials.) I also helped a little with dusting some color on a few items... the rolls just looked raw without a little color!

The bread for the stuffing was made from pieces of leftover cake cut into cubes. The turkey was first molded from Rice Krispie treats and then covered with fondant. His final touch was to sprinkle fresh ground pepper over the surface of the turkey. WOW!!! What a masterpiece... if I do say so myself.

Besides the turkey and stuffing they had: corn on the cob, rolls, grapes, an acorn, a pumpkin, an apple, a pear, cranberries, sweet potatoes with marshmallows on top, mashed potatoes with butter on top, and pumpkin pie with a dollop of whipped cream.


He's showing off his masterpiece!


Here he is goofing around with his big sister... it's such a wonderful thing when you have children that get along as well as these two! :)


I was soooo impressed with the way everything turned out.... the teacher was pretty impressed too. As a matter of fact, he asked if he could keep their "Turkey Tray" decoration and use it in the future. In the end it was an EPIC (as my teenagers would say) success!

Acorn Tutorial

Monday, September 27, 2010

Here's a quick tutorial on making an acorn for all your fall cake decorating:


Here's what the finished acorn will look like. Now lets get started...


You'll need brown and tan colored fondant, plus a small piece of plastic canvas. (The plastic canvas is available at any craft store.)


Roll the tan colored fondant into a smooth ball.


Roll it into a cone shape.


Flatten the top of the cone.


Pinch the bottom end of the cone making a small point,


Roll the large brown fondant piece into a smooth ball.


Flatten the ball slightly under the palm of your hand. This piece will be the acorn's "cap".


Brush a small amount of water on the bottom of the cap piece.


Put the cap on top of the acorn and push it together so it sticks well.


Push the top of the cap into the plastic canvas.


This gives you that grid pattern acorn are known for.


Roll the small brown fondant piece into an elongated cone shape. This is the stem.


Poke a hole in the top of the acorn with the end of a paint brush.


Brush a tiny bit of water into the hole then push in the stem.


There you have it... your finished acorn!

Autumn Pumpkin Tutorial

Wednesday, September 1, 2010

The air is starting to feel a little cooler, so Autumn must be just around the corner. This nice weather has me thinking about fall holidays and all the beautiful decorations. Here's a tutorial on how to make one of those cute little harvest pumpkins:

You'll need orange, green and brown fondant; dental floss and a toothpick.
 
Knead the orange fondant until it's soft, then roll it into a smooth ball.

Slightly flatten the top of the fondant ball.

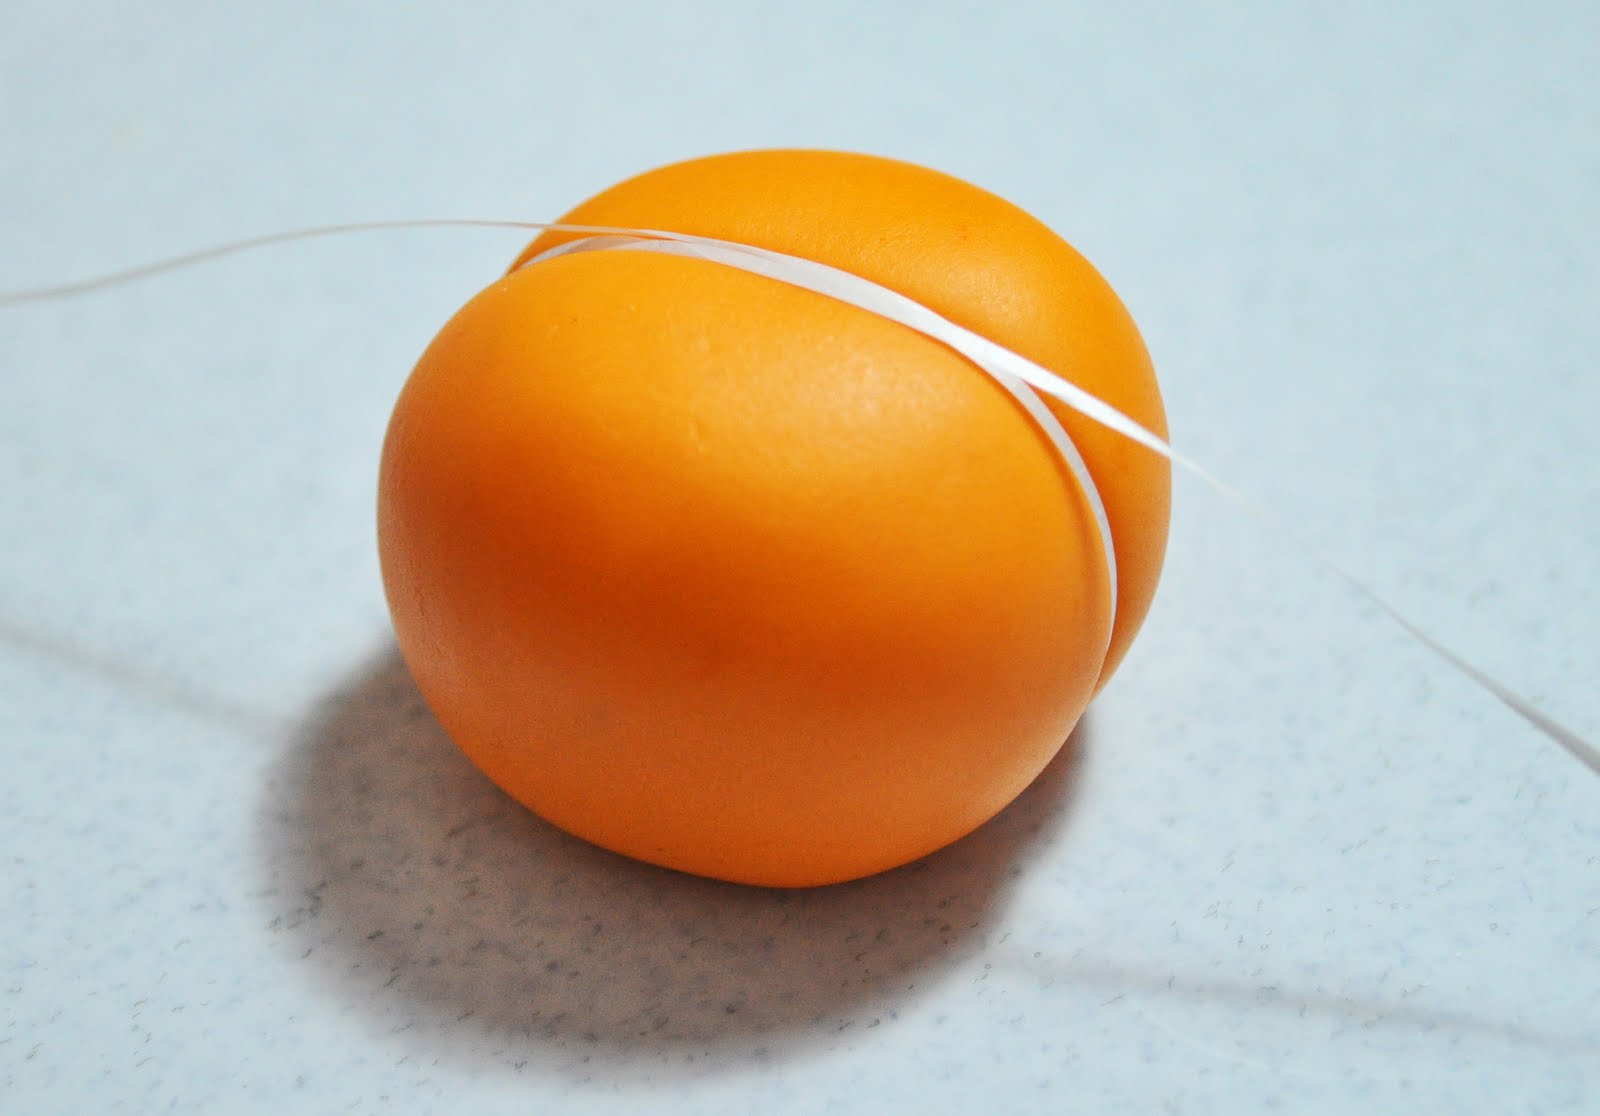
Wrap a piece of dental floss around the ball.

Pull the ends of the floss slightly, leaving an impressed mark.

This is what the impression should look like. If you stop now... you have an apricot!

Continue dividing the sections in half until you have 8 sections.

Now you've completed all the pumpkin lines.

Poke a small hole into the top of the pumpkin with a toothpick.

Roll a small piece of brown fondant into a long cone shape. This is the stem.

Put the stem into the hole on top of your pumpkin.

Roll a piece of green fondant into a long tapered rope shape. This is the vine.

Wrap the vine around a toothpick.

Cut the green fondant into a teardrop shape with a gum paste cutter. If you don't have a cutter...  just use a knife.  Impress small veins into the leaf with a toothpick.

Slightly pinch the pointed end of the leaf together.

 Add the stem, vine and leaf to your pumpkin. There you go... you've just finished!   If the pieces don't stick together, just use a little water as glue. Now isn't that the cutest little pumpkin you've ever seen?
 

Blog Design by Nudge Media Design | Powered by Blogger