The air is starting to feel a little cooler, so Autumn must be just around the corner. This nice weather has me thinking about fall holidays and all the beautiful decorations. Here's a tutorial on how to make one of those cute little harvest pumpkins:
 |
| You'll need orange, green and brown fondant; dental floss and a toothpick. |
 |
| Knead the orange fondant until it's soft, then roll it into a smooth ball. |
 |
| Slightly flatten the top of the fondant ball. |
 |
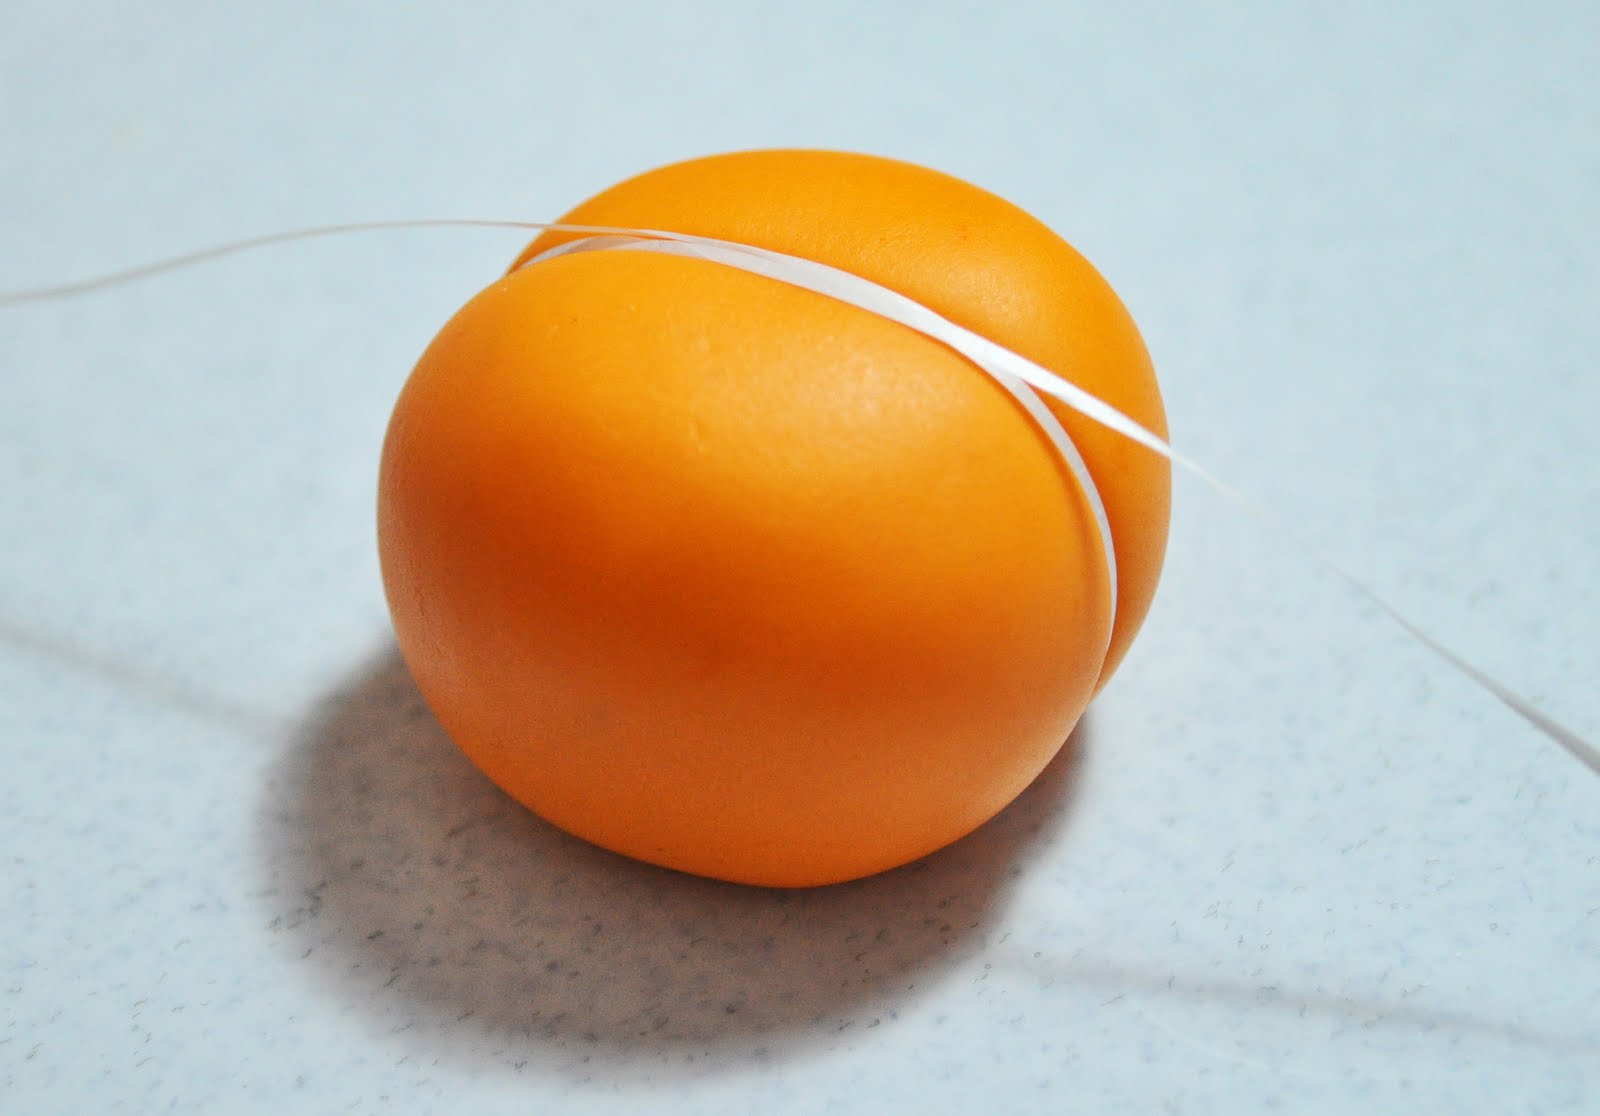
| Wrap a piece of dental floss around the ball. |
 |
| Pull the ends of the floss slightly, leaving an impressed mark. |
 |
| This is what the impression should look like. If you stop now... you have an apricot! |
 |
| Continue dividing the sections in half until you have 8 sections. |
 |
| Now you've completed all the pumpkin lines. |
 |
| Poke a small hole into the top of the pumpkin with a toothpick. |
 |
| Roll a small piece of brown fondant into a long cone shape. This is the stem. |
 |
| Put the stem into the hole on top of your pumpkin. |
 |
| Roll a piece of green fondant into a long tapered rope shape. This is the vine. |
 |
| Wrap the vine around a toothpick. |
 |
| Cut the green fondant into a teardrop shape with a gum paste cutter. If you don't have a cutter... just use a knife. Impress small veins into the leaf with a toothpick. |
 |
| Slightly pinch the pointed end of the leaf together. |
 |
Add the stem, vine and leaf to your pumpkin. There you go... you've just finished! If the pieces don't stick together, just use a little water as glue. Now isn't that the cutest little pumpkin you've ever seen?
|


Judy, what great looking pumpkins made out of fondant! I usually make mine with marzipan. Love the tip of the floss too. I want to make some of these! Became a new follower. Joni
ReplyDeleteYou did an expert job on the pumpkins, thanks for sharing.
ReplyDeleteBarb
Thanks, I hope you try making them. Have fun!
ReplyDeleteI love that! So very cute. I can't wait to try them. Thank you for sharing. I am your newest follower. Have a great week-end. Linda
ReplyDeleteCOOL. Another tutorial to print. :) Thanks,
ReplyDeleteSusie