Posts
Posts


Well, I finally finished my gingerbread house. YEAH!
And....... I entered it into a local competition. EEK!!!
So now I'm going to loose all my pride and beg you to please go and vote for it! (It never hurts to beg...right?) LOL
I'm a little behind in the voting right now so I'm hoping you'll help me out. If I win, they will donate $1000 to a charity of my choice. I chose "Share a Smile". This is a charity organization started by Dr. Eric Vogel DDS. He's a local dentist who travels to other countries around the world providing free dental care to those in need. He's a great man and it's a great charity! Dr. Vogel is battling cancer right now, so I'm sure he'd be even more grateful for the donation to help his organization and to help these people in need.
Here's how you vote. Go to this facebook page:
https://www.facebook.com/ivoryhomes?sk=app_180881568718542
First you'll need to "like" the Ivory Homes facebook page. (You can always "unlike" it again after you've voted.) Then a page will come up with pictures of all the gingerbread houses in the competition and you can cast your vote. My house is #9- Anderson Family. The voting lasts until Wednesday (December 5th). Thank you sooooooo much for your help. I really appreciate it!
I'm always a little leery of contests like this. Too many times they turn out to be more of a popularity contest then a contest based on ability. So we'll see what happens. But I'm still BEGGING and PLEADING for your facebook vote!!!! ;)

I had a lot of fun putting this house together. However, it took sooooooo much longer than I'd ever imagined! It wasn't the decorating that took so long... it was the construction. I'd glue a few pieces together with royal icing, then wait, and wait, and wait for them to dry before I could continue. This house had so many pieces that my daughter's bed was completely covered with cookie sheets and boards filled with gingerbread house pieces! Anyway, here are some pictures.
Making this gingerbread house kind of reminded me of pregnancy. Quite often after your first delivery, you vow to never put your body through that again! But over time you forget about the morning sickness, mood swings, discomfort, and pain. You begin to remember the good times... and after a while you decide it wasn't so bad after all. Then you end up having another child.
Will I ever attempt another gingerbread house with this much detail??? Give me a few months to forget about the 2 weeks... all day... everyday... the late nights... and the early mornings I spent working on it. Then come next October or November I'll probably decide it wasn't so bad after all and end up doing it all over again!!!
In the mean time..... GO VOTE!!!! :)

And....... I entered it into a local competition. EEK!!!
So now I'm going to loose all my pride and beg you to please go and vote for it! (It never hurts to beg...right?) LOL
I'm a little behind in the voting right now so I'm hoping you'll help me out. If I win, they will donate $1000 to a charity of my choice. I chose "Share a Smile". This is a charity organization started by Dr. Eric Vogel DDS. He's a local dentist who travels to other countries around the world providing free dental care to those in need. He's a great man and it's a great charity! Dr. Vogel is battling cancer right now, so I'm sure he'd be even more grateful for the donation to help his organization and to help these people in need.
Here's how you vote. Go to this facebook page:
https://www.facebook.com/ivoryhomes?sk=app_180881568718542
First you'll need to "like" the Ivory Homes facebook page. (You can always "unlike" it again after you've voted.) Then a page will come up with pictures of all the gingerbread houses in the competition and you can cast your vote. My house is #9- Anderson Family. The voting lasts until Wednesday (December 5th). Thank you sooooooo much for your help. I really appreciate it!
I'm always a little leery of contests like this. Too many times they turn out to be more of a popularity contest then a contest based on ability. So we'll see what happens. But I'm still BEGGING and PLEADING for your facebook vote!!!! ;)

I had a lot of fun putting this house together. However, it took sooooooo much longer than I'd ever imagined! It wasn't the decorating that took so long... it was the construction. I'd glue a few pieces together with royal icing, then wait, and wait, and wait for them to dry before I could continue. This house had so many pieces that my daughter's bed was completely covered with cookie sheets and boards filled with gingerbread house pieces! Anyway, here are some pictures.
 |
| One of the many boards covered with gingerbread pieces. |
 |
| Some of the pieces a little farther along.... plus the little Christmas trees I'll put in 2 of the windows. |
 |
| For the windows I used gelatin sheets. They work really well because they come with the diamond design already there! |
 |
| Starting to put it all together. The white sections are where windows will be placed. And to the left is the beginnings of a large Christmas tree. It's made with Rice Krispie Treats and covered in white chocolate. |
 |
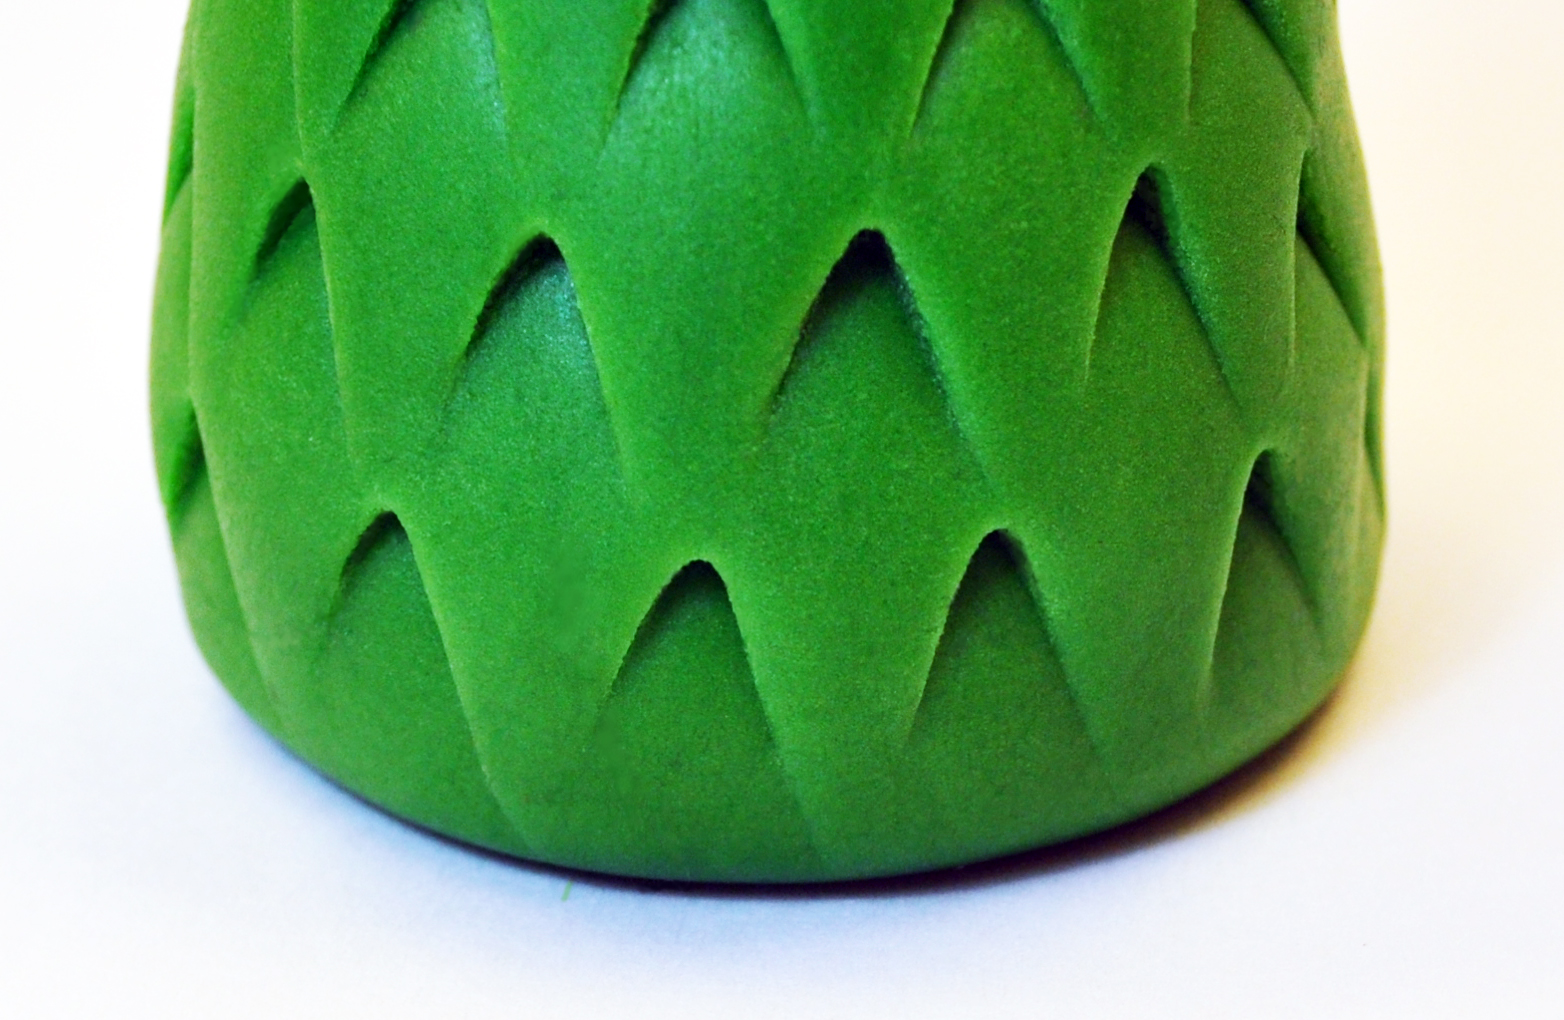
| Here's the same Christmas tree covered in fondant. I'm about half way done clipping little sections to make it look like a pine tree. |
 |
| Getting the roof put together... it was sooooo nerve wracking!!! I was worried it would fall in, but it held together very well. |
 |
| I colored the gingerbread dough a dark brown color. To make the shingles I rolled out the dough and made impressions with a fork to create some texture. After cutting out the little squares, I trimmed off the bottom edge with a wavy blade. This added an awesome detail to the shingles. I baked them for 12 minutes and they were done.... did I mention I made approximately 1700 little shingle pieces!!!! Wow, it took the better part of a full day just to make these little squares. But I was very pleased with the end result! |
 | |||
| Adding the shingles... see the 2 large bowls filled with shingles. Every time I closed my eyes all I could see were little brown squares.... LOL |
 |
| Here's the stone siding. On the right you can see what a difference it made after I brushed a little gray petal dust into each of the cracks. |
 |
| The finished product!!! :D |
 |
| Here you can see more little details like snow on the rooftop. The base board measured 34 x 28", and the house was about 16" tall. |
 | |
| This is a closeup of the front. In the windows you can see a Christmas tree and a picture of Santa Claus hanging on the wall. |
 |
| The little lights were chocolate covered sunflower seeds. |
 |
| On the left you can see the large finished Christmas tree. Cotton candy made great smoke coming from the chimney. |
 |
| This is the right side of the house with a small tree trying to hang on to the last little bit of Autumn. |
 |
| View of the back. |
 |
| Close up of the back where you can see a 2nd Christmas tree in the bay window. The other window has frilly lace curtains. Just outside the door is a stack of wood, an ax, and a bucket of coal waiting to keep the little house warm and cozy for the holidays! |
Will I ever attempt another gingerbread house with this much detail??? Give me a few months to forget about the 2 weeks... all day... everyday... the late nights... and the early mornings I spent working on it. Then come next October or November I'll probably decide it wasn't so bad after all and end up doing it all over again!!!
In the mean time..... GO VOTE!!!! :)