What do you do with left over strawberries? Strawberries and cream? Strawberry Sauce? Strawberry Lemon Muffins? Strawberries on your breakfast cereal? Strawberries with vanilla ice cream? Several years ago I found myself trying to answer this same question. Not enough strawberries to use in most recipes, but too many to just sit down and eat by myself.
I know you've heard of Black Forest cake... chocolate cake, cherry filling, whipped cream frosting etc. Well, I thought why not try to make something similar with strawberries??? Genius! (At least I think I'm a genius... just don't ask my kids.) After I came up with this recipe, my husband immediately proclaimed it to be "Enchanted Forest Cake". Genius! (I always knew he was a genius.) It's been one of my families favorite cakes ever since. No fancy decorating with this one... but it will "make your toes curl" with yumminess!
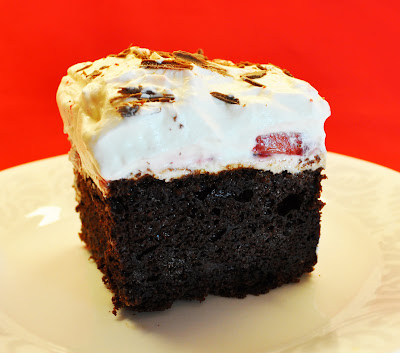 |
| Just makes your mouth water doesn't it.... ;) |
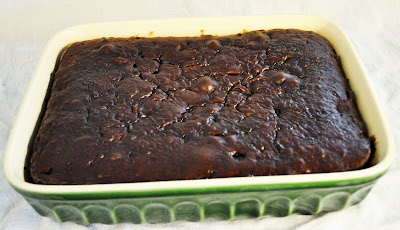 |
| Make your favorite chocolate cake recipe but stir 1 1/2 C mini chocolate chips into the batter. You can use regular sized chocolate chips but they will sink to the bottom of the cake as it cooks. (We actually like it better when they sink to the bottom because it makes a firm chocolate base.) Bake in a 9x13" pan as directed. |
 |
| You'll need strawberries, 1 pint whipping cream, 1/4 C + 4 Tbls. powdered sugar, 8oz. cream cheese and 1 tsp. vanilla. |
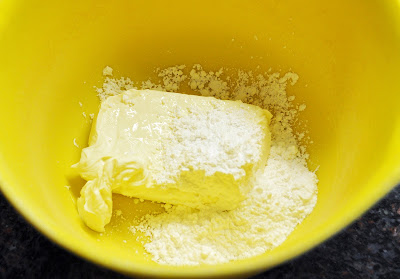 |
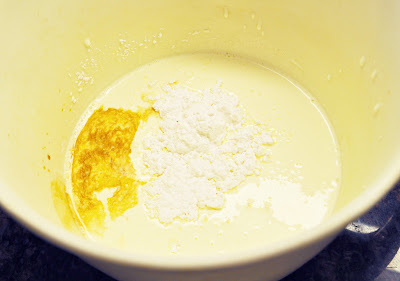
| Put the softened cream cheese and 1/4 C of powdered sugar into a mixing bowl. |
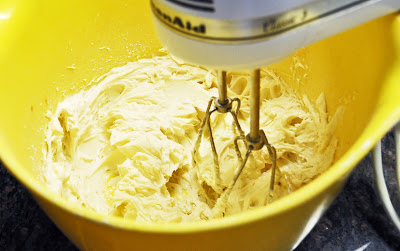 |
| Beat until smooth and creamy. |
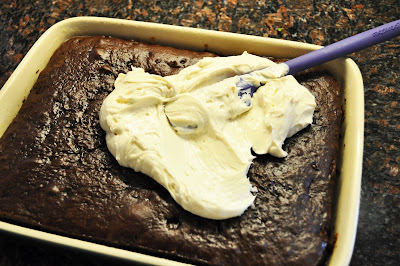 |
| Spread the cream cheese mixture over the top of the cooled cake. |
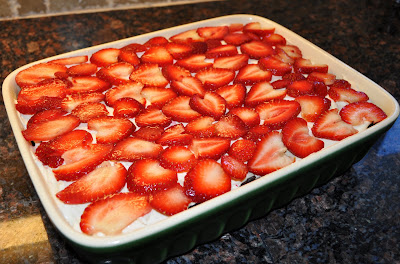 |
| Thinly slice the strawberries and put them over the cream cheese mixture so it's evenly covered. |
 |
| Combine the whipping cream, vanilla, and 4 Tbls. powdered sugar in another bowl. |
 |
| Whip until it's fairly stiff... be careful not to whip too long or you'll end up with very sweet butter. (Butter doesn't taste very good on chocolate cake. LOL) |
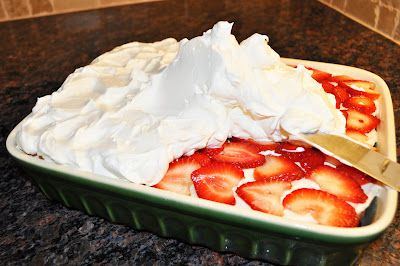 |
| Spread the whipped cream over the top. |
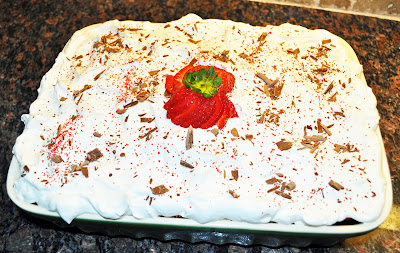 |
| Garnish it however you like... I used chocolate shavings and a couple of partially slices strawberries. |
 |
| Serve with a nice cold glass of milk! |
Try to eat just one piece. I promise you'll be begging for another one... or two!


